Showing posts with label inlaid diecutting. Show all posts

March 29, 2026

Whimsy Stamps - Easter Bunnies in the Garden

Hello there.  I’m welcoming in spring with a couple of cards courtesy of products from Whimsy Stamos (WS).   First up is an unconventional spring garden scene card using Build-a-Fairy Garden die set with the Bunnies in the Garden stamp set.


The mushroom parts and grass border were die cut from Bristol paper.  The mushroom caps and stalks were ink blended with Victorian Velvet and Brushed Corday distress inks (DI), respectively.  Ink smooshing with diluted Cracked Pistachio DI was used to colour the grass border.  The bunny images onoth cards were then stamped with Memento Tuxedo Black ink on X-Press It paper, coloured with Copic Sketch markers then fussy cut out.  

Copic markers used:
bunny - C00/1/3/4 
eyes - B12 
bunny pinks - R81
overalls - B34/37/39 
ladybug - R27, C4/5/6 
leaf - G05/07/09 


Two A2 size panels were trimmed from Bristol paper next.  Die cut one of them with the Bubbly die to create a frame and ink blended Salvaged Patina DI on the other one for the sky background to peek through.  Tip: leave white areas for clouds.  Stamped the Easter Sentiment with Versafine Onyx Black ink on Bristol paper, heat embossed it with clear glitter embossing powder for some sparkle then fussy cut out.  Assembled the card onto a white card base to finish. 

I had a small mushroom left over, so glued it to the bottom left corner of an envelope to match.  


My next card is a simple Easter scene card featuring the Easter Bunnies stamp set.  The image was done at the same time as the image above. 

Copic markers used:
bunny - W00/1/3/5 
eye - B12 
bunny pinks - R81
basket - E43/44/47 
bow - RV17/19/69 
chicks - Y21/23, YR07/24 
leaves - G03/05//07/09, YG03/06/07/09/63 
flowers - pink: RV10/63/55+Y11//15/17, turquoise: BG02/05, purple: V01/04/15/17 


The Nested Pierced Egg was then used to die cut from a white woodgrain panel.  Stretched the Quick Strips 3 dies to create the cross from white woodgrain paper as well.  Ink blended Sahara Sand dye ink for shading/dimension.


Created a simple background by ink blending Salvaged Patina and Cracked Pistachio DI on Bristol paper for the sky and ground, respectively.  Assembled the card onto a white card base then stamped the sentiment with Versafine Onyx Black ink to finish. 


WS products used for my cards are linked below.  Please note compensated affiliate links are used in this post at no extra cost to you.  Your support is greatly appreciated. Happy new year to those who celebrate.  Thank you for dropping by. 


Challenges:
card 1
Tic Tac Toe - #289 Featured Designer Jeanie (diagonal - Spring, Die Cut/Punch, Coordinating Envelopes)
card 2

January 31, 2022

Sparkly Christmas Tree

Hello there.  It’s the last day of January and inspiration hit for another clean and simple (CAS) tree Christmas card.


To reduce its size, new Tree confetti cut from Reverse Confetti was partially die cut on a stitch mixed media panel from my stash.  This die gives a negative cut and I was going to make a shaker card, but then decided to keep it really simple.  Gathered up some scraps of glitter paper and die cut them from the different sections then inlaid them into the panel.   


The Joy Word die is from SugarPea Designs.  It was die cut from a scrap of black foil paper and it’s shadow was die cut from a scrap of vellum.  The second part of the sentiment from Waffle Flowers Oversized Joy stamp set was black heat embossed directly on the panel.  For a bit of dimension, mounted the panel onto a white card base with a thick piece of white paper cut slightly smaller and adhered the Joy diecut  to finish. 
 
Super simple and sparkly, don’t you think?  Thank you for stopping by.  Have a wonderful day.


Challenges:
Snippets Playground - #420 Use Snippets (all paper and cardstock)

November 04, 2021

Spellbinders November Small Die of the Month

Hello there.  It’s November already!  This makes it the perfect time to share the November Spellbinders Small Die of the Month (SDOM).  This month’s Stitched Curved Border & Ornaments club kit contains 13 dies. 

PLEASE NOTE: Affiliate links have been used when possible
at no extra cost to you when you purchase through these links.


Love the ornament dies, so I used them to create a very simple Christmas card. 


The ornament detail layers, strings and loop toppers were die cut from silver foil paper scraps.  The back base layers were die cut from Bristol paper and Blueprint Sketch distress ink was applied around their edges with a finger brush.

The pattern paper from Whimsy Stamps Blurry Flurries paper pack was trimmed to A2 size.  The sentiment from the Clear Stamp of the Month was stamped directly onto it with Blueprint Sketch distress oxide ink and heat embossed with clear embossing powder.  Used the base dies to die cut from the patterned paper, then inlaid the ornaments.  Assembled the card onto a white card base then added blue Jewels from MB to the centres.  Wanted to play in a few other challenges, so tied a few bows from a snippet of silver ribbon.  I can’t remember the last time I actually used ribbon this way on my card. 🤔 


Easy peasy!  Spellbinders club kits are a great value.  All club kits HERE are available now through November 24th.  Past kits may be available HERE.  Thank you for stopping by.  Enjoy your day.


Challenges:
The Paper Players - #565 Tic-Tac-Toe   (top row: ribbon-circles-die cut; middle column: circles-patterned paper-embossing; bottom row: foil-embossing-embellishments; both diagonals: die cut-patterned paper-foil + ribbon-patterned paper-embellishments)

November 03, 2021

Guest Designer for The Male Room Challenge #156 - Gnomes


Hello everyone.  I’m excited to be joining the team at The Male Room (TMR) Challenge this month as their guest.  The theme is GNOMES.


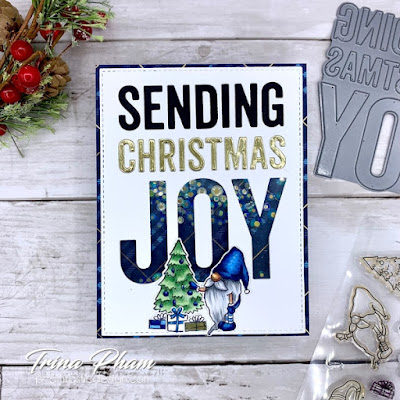
I said it before and I’ll say it again 😂… I honestly don’t understand the fascination with gnomes, but they continue to be very popular. 🤔   Anyway, I used my one and only gnome product - Merry Gnomes stamp set - from Jane’s Doodles to create a Christmas shaker card.


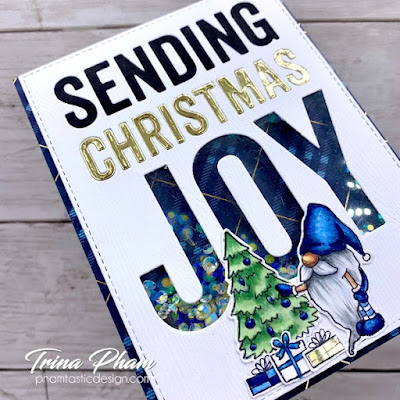
Started by selecting the Woodsy Plaid paper from Memory Box (MB) and trimming it to A2 size.  The blues with a bit of gold in the paper determined the colour scheme.  All the images were stamped with Memento Tuxedo Black ink onto Xpress It cardstock, coloured with Copic markers, then fussy cut out.  The gift on the right was paper pieced with MB gold Polished Foil paper.


The Sending Christmas Joy sentiment from My Favorite Things (MFT) was then die cut from a stitched 4”x5.25” Bristol panel.  Inlaid “sending” with black cardstock and “Christmas” with the same MB gold foil paper.  Joy was then backed with acetate for the shaker portion.  Used foam tape to create the well to house the shaker elements and to mount the panel onto a white card base to finish.  


I want to thank Jane and TMR team for having me guest design.  Hope you will join in with your masculine gnome card.  If you need more inspiration, check out what TMR team have made HERE.  Thank you for stopping by.  


Challenges:
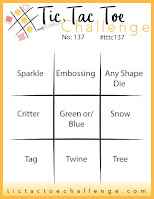
Tic Tac Toe - #137 challenge by Stef   (diagonal sparkle-blue/green-tree)

July 21, 2021

Happy Swinging Christmas Elf

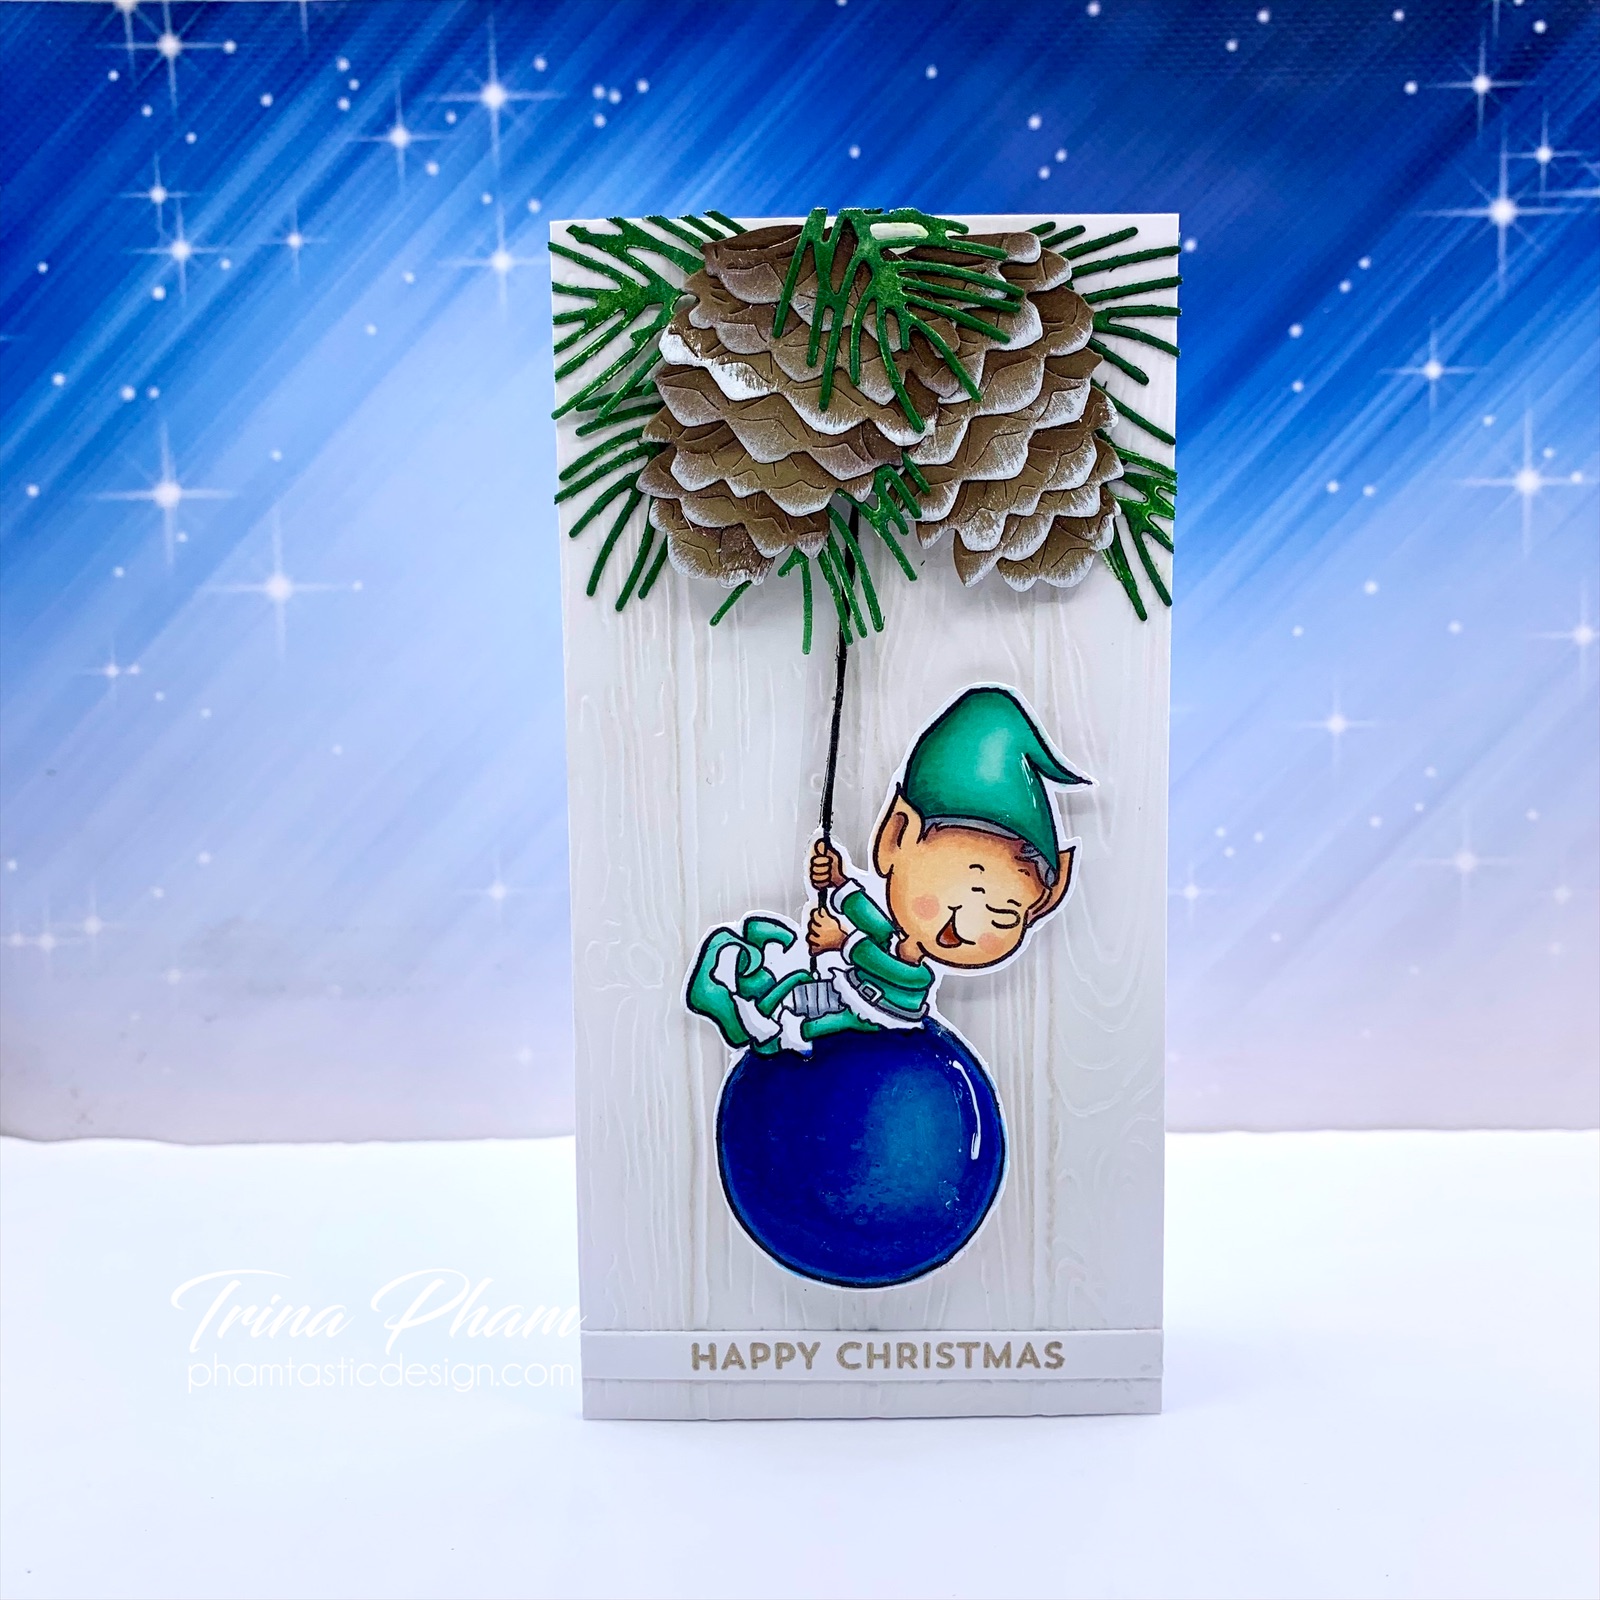
Hello there.  I have a fun interactive mini slimline Christmas card to share today.  When I saw the Treat Yours-Elf stamp set from Kraftin’ Kimmie, I immediately pictured a pendulum swing card using the smiling male elf image.  And after many months 🙈, I finally made it!  I created the card from memory, but originally I watched this video tutorial HERE.  I’m sure if you do a google search, there are many other options.


The image was stamped with Memento Tuxedo Black ink onto Xpress It cardstock and coloured in with Copic markers.  Used a black marker to extend the string.  To give support, glued it to thick white cardstock, then fussy cut it out.  To strengthen the string portion, it was glued to medium weight acetate. The dry embossed wood panel from my stash was trimmed to 3x6 inches and this panel is where the swing mechanism was created from.  


The pinecones and pine branches are from Memory Box Pinecone Stackers and Forest Pine Branch, respectively.  The pinecone layers were die cut from brown cardstock and a sponge dauber was used to apply white gouache paint to the edges.  To colour the pine branches, Rustic Wilderness distress ink was applied directly to them.  Lightly spritz with water and pat with a paper towel. 


The sentiment from My Favorite Things Bitty Holiday Wishes was heat embossed with Liquid Platinum embossing powder.  Assembled the card onto a white 3x6 inch card base using foam tape and making sure not to impede the swing mechanism.  Nuvo Crystal Glaze on the bauble for some shine finished off the card.  And here’s a video showing it in action.


Thank you for stopping by.


Challenges:


February 24, 2021

40th Birthday

Hello there!  My youngest sister celebrated a big birthday this month (it was in covid-style so just her household) and one of my other sisters asked me to make a card for her.  I wanted to make a fun interactive card to mark this special milestone, but my health challenges continue, so I needed to keep it simple and made a slimline card using the colour palette from the February Butterfly Reflections, Ink mood board


The largest die in the Slim Basics Rectangle Layers die set from Memory Box (MB) was used to die cut from Bristol paper a slimline panel measuring 3.6”x8.6”.  Using a mini blending tool, applied Pinkalicious dye ink from Altenew (ALT) over a new unused Rolling Clouds stencil from My Favorite Things (MFT) to create the pretty pink sky.  Splattered it with ALT Razzleberry dye ink and white gouache paint for some texture.  Next, took the new unused MFT Big Birthday Wishes die and partial die cut from the panel to split the sentiment to the top and at the bottom.  


The elephant from Mama Elephant (ME) Fly With Me was stamped with Memento Tuxedo Black ink on X-Press It cardstock, coloured in with Copic alcohol markers (C00, C1, C3, C5, R32, R30) and die cut out with the matching die.  The ballon (retired) was die cut from a Stampin’ Up! (SU!) Melon Mambo embossed polka dotted scrap in my stash.  The MFT Impact Numbers and “TH” (retired) were die cut from SU! Smoky Slate cardstock and Bristol paper, then offset for a shadow effect.  Added clear glitter to them for some shimmer.  Die cut the sentiment from black cardstock to be inlaid and assembled the card onto a white 3.75”x8.75” card base to finish.


Thank you for stopping by.  Have a great day!


Challenges:
NBUS #23 - new stencil and due from MFT

January 10, 2021

Spellbinders January 2021 Small Die of the Month

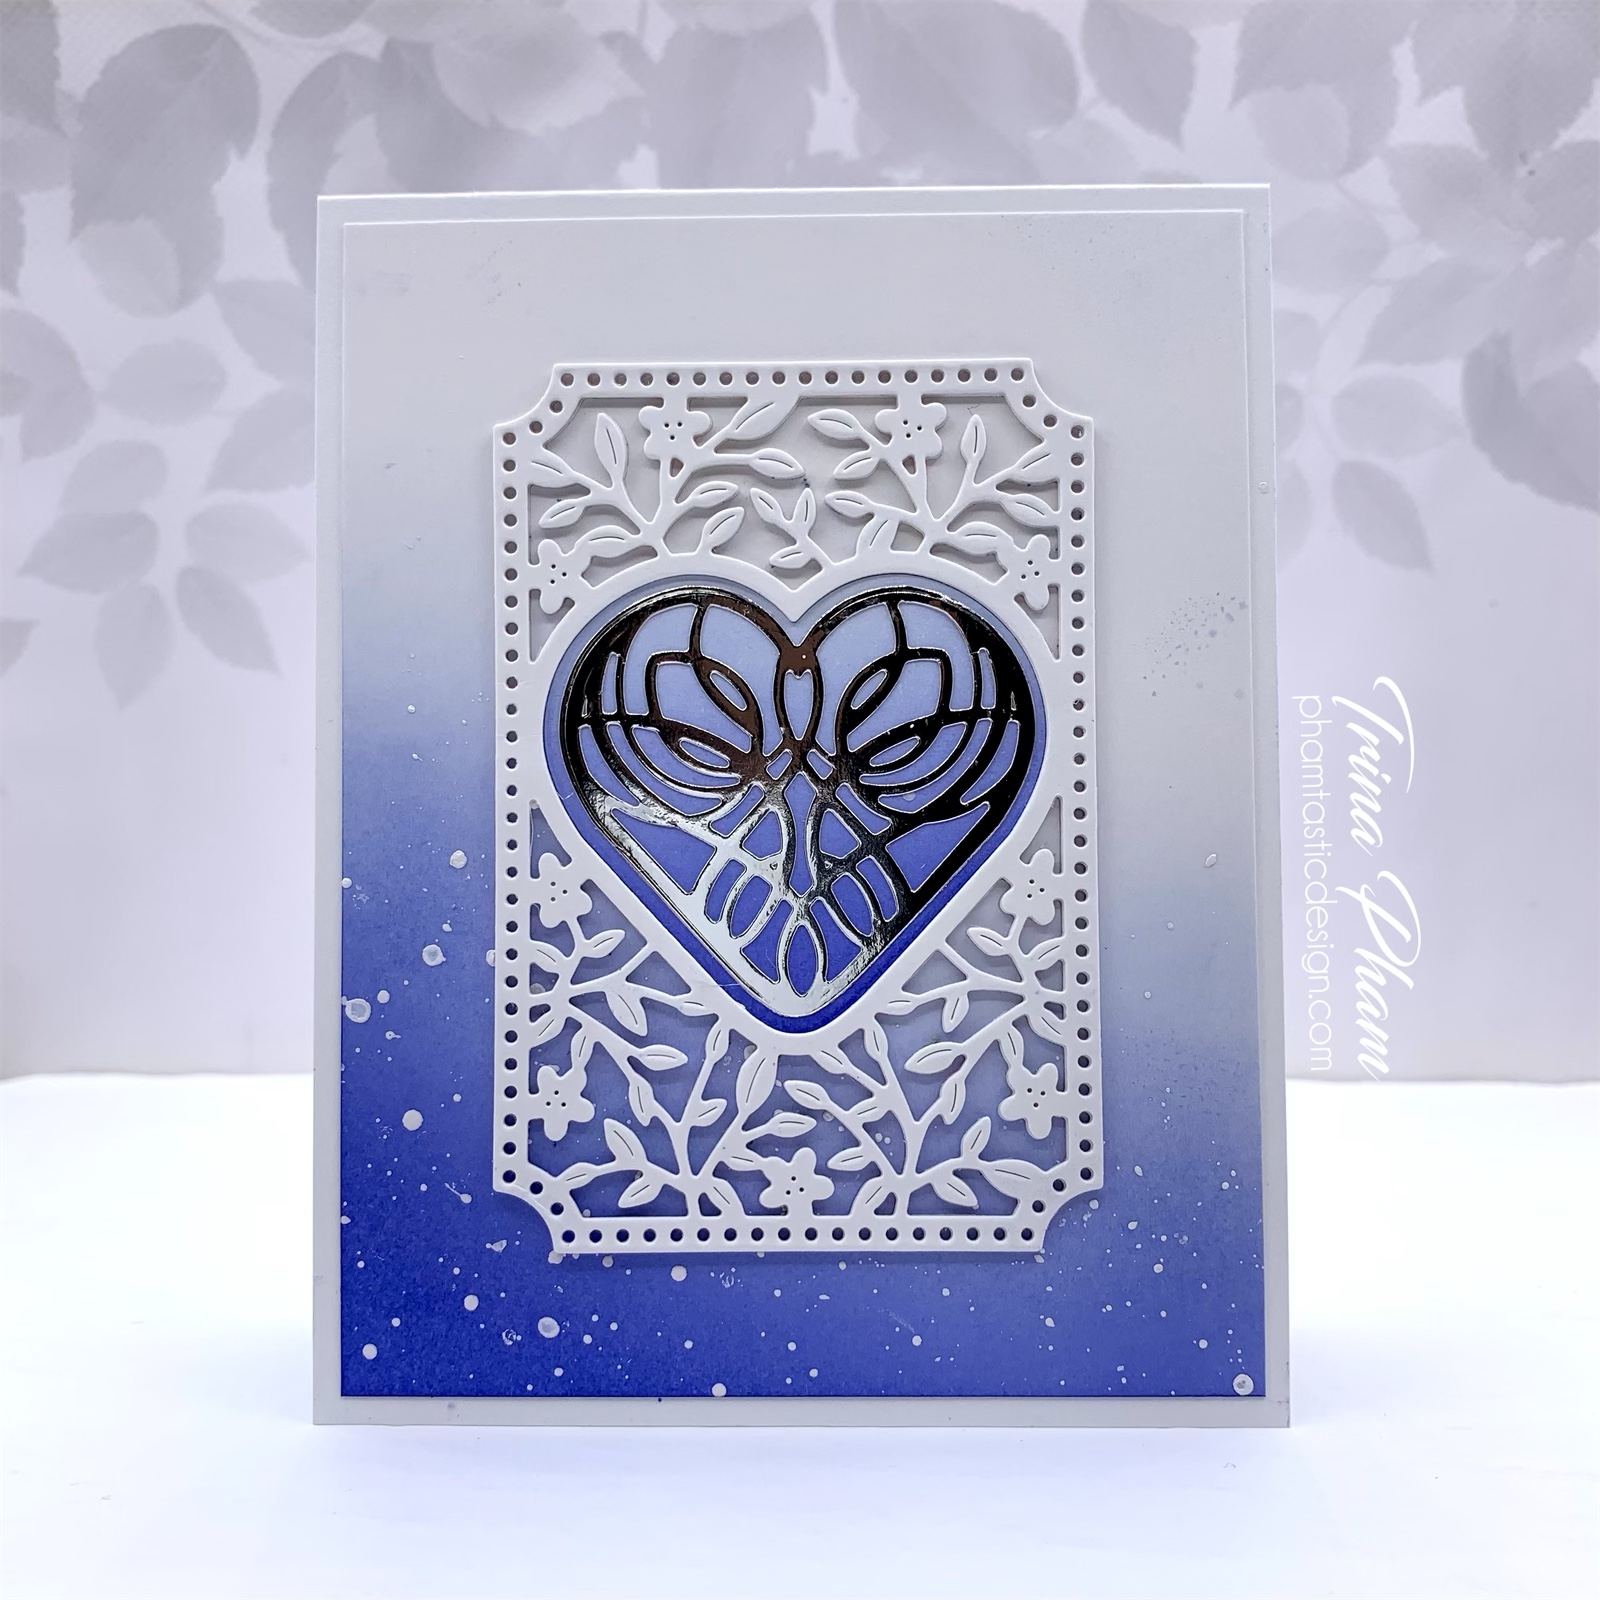
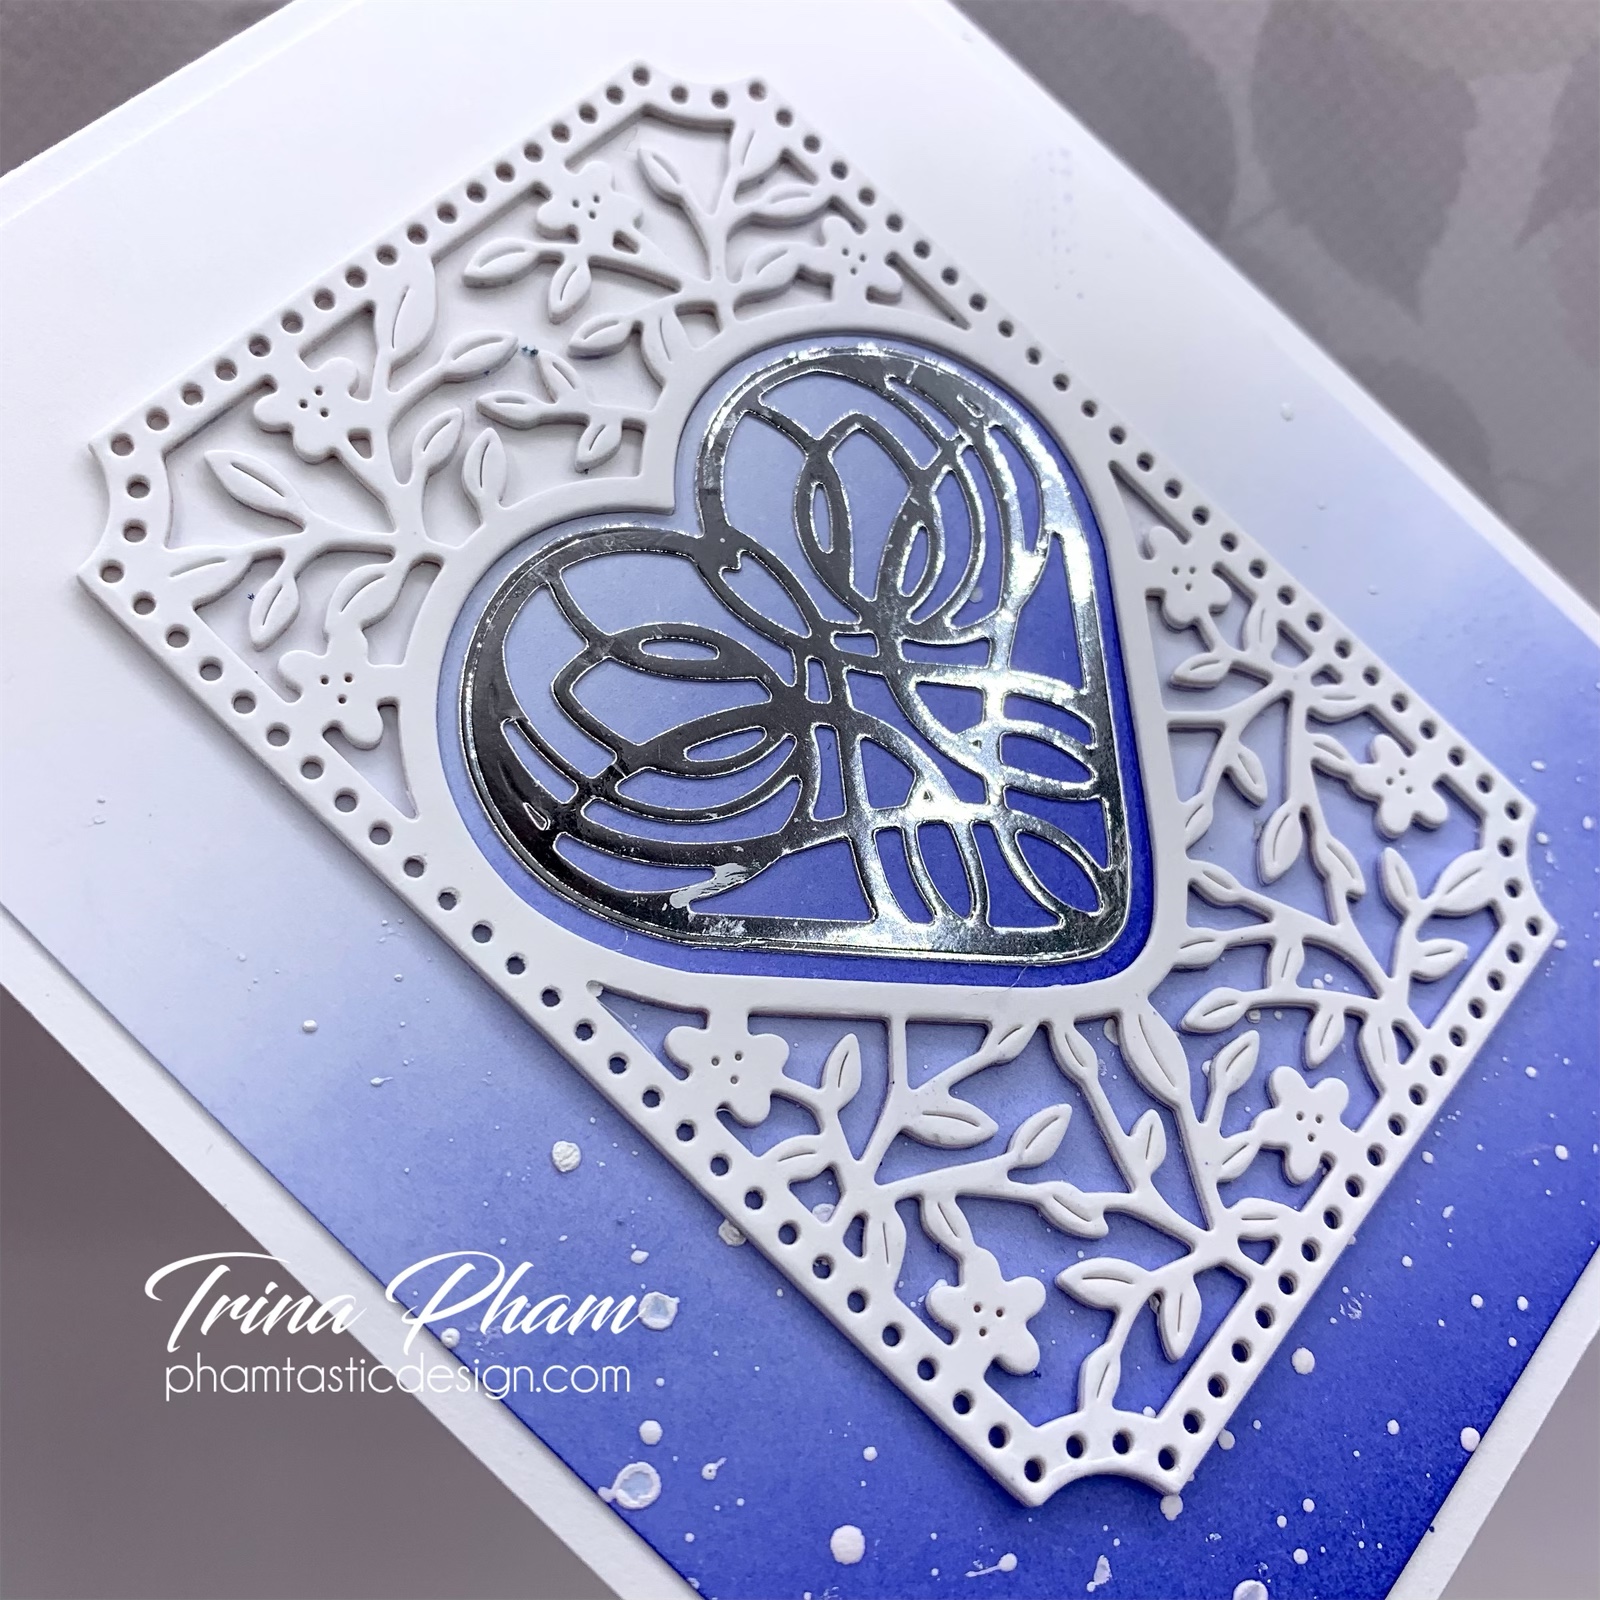
Hello everyone.  I’m poppin’ in today to share a simple card made with dies from the January Spellbinders 2021 Small Die of the Month Club Kit.  The kit includes four dies - a large border, a rectangle heart cutout, detailed heart and a solid heart shadow.  

It is a love theme and because the design is very intricate, it makes it so easy to create elegant cards.  I skipped the border die and used the rest to create this.


With love themes and Valentine’s just around the corner, reds and pinks are the popular colour choices.  But if you know me, I love using non-conventional colours and since blue is my favourite... why not! 😂  

Started by die cutting the rectangle heart cutout from Bristol paper three times and stacked them for dimension.  Took one of the heart cutouts and ombré blended Blueprint Sketch distress ink (DI) from the point and fading upwards. 


Next, the detailed heart was die cut from a scrap of silver foil paper.  It makes a negative cut so the solid shadow die was used to cut it out into a fancy heart shape.  For the background, ink blended Blueprint Sketch DI and splattered with white gouache paint for some texture.  Assembled the card onto a white card base to finish.  Sentiment will be added depending on the occasion it is used for. 


The Small Die of the Month Club Kit is one of many monthly kit subscriptions Spellbinders offers.  To see them all, click HERE.  Past kits are also available HERE.  

Thank you for joining me today.  Have a wonderful week.


Challenges:
NBUS #22 - all new dies